This guide provides a step-by-step approach for both trade professionals and DIY enthusiasts looking to install uPVC fascias and soffits. By following these instructions, you can ensure a secure, aesthetic, and durable installation.
Health & Safety
Preparation Steps
Remove Old Materials: Take down all existing timber fascias, gutters, and downpipes. Properly recycle these materials at your local refuse center, cutting them into manageable pieces if needed.
Inspect Roof Tiles: Remove the first two layers of roof tiles to inspect the condition of the felt. This is important as older felt may need replacement.
Check Rafters: Ensure that timber rafters are structurally sound and free from rot. They should also be plumb and level for the fascia board to align correctly with the roofline. Replace any rotting rafters if necessary.
Spacing Requirements for New Builds: For white fascias, rafters must be located a maximum of 600mm apart. For foiled fascias, rafters should not exceed 400mm apart due to heat absorption concerns.
Soffit Bearers: In new builds, soffit bearers must also be spaced at a maximum of 600mm for white soffits and 400mm for foiled profiles.
Gable Framing: Ensure that suitable gable framing is provided for securely fixing bargeboards.
Installing Soffits
Measure and Cut Soffit Board: Install a pre-measured length of uPVC soffit board using 40mm A4 Marine grade stainless steel plastic headed pins. For white soffits, fix at 600mm centers. For woodgrains and colors, fix at 400mm centers.
Joining Soffits: Use soffit joint trim for joining. Leave a minimum of 10mm expansion gap between joints. The joint strip can be easily cut to fit with a hacksaw.
Position the Soffit: The front edge of the soffit will be concealed by the return leg of the fascia board. The rear should either sit on the brickwork or be nailed into a timber batten, depending on your house construction.
Installing Fascia Boards
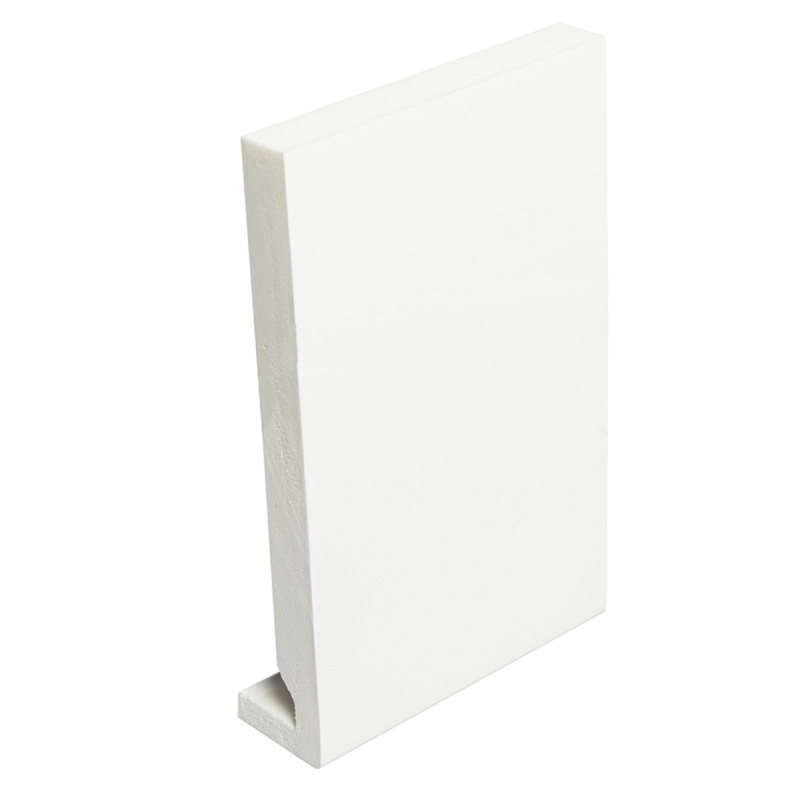
Select and Cut Fascia Board: Choose the appropriate height and profile for the fascia board. Fix it using 2 x 65mm A4 Marine grade stainless steel plastic headed nails.
Fascia Fixing Centers: For white fascias, fix at a minimum of 600mm centers. For foiled fascias, fix at a minimum of 400mm centers.
Joining Fascia Boards: Choose the correct fascia joints and leave a minimum of 10mm expansion gap. Secure joints with superglue on one side or use a matching plastic head pin for added security. If using superglue, an activator spray can provide instant adhesion.
Finishing Touches
Corner Profiles: Select the appropriate corner detail (internal or external). Our corners come in different heights (300mm single-ended, 500mm double-ended), and double-ended corners can be cut in half for 250mm sections.
Fix Corner Details: Use low modulus neutral cure silicone or super glue on one side of the corner details, allowing for movement due to temperature changes.
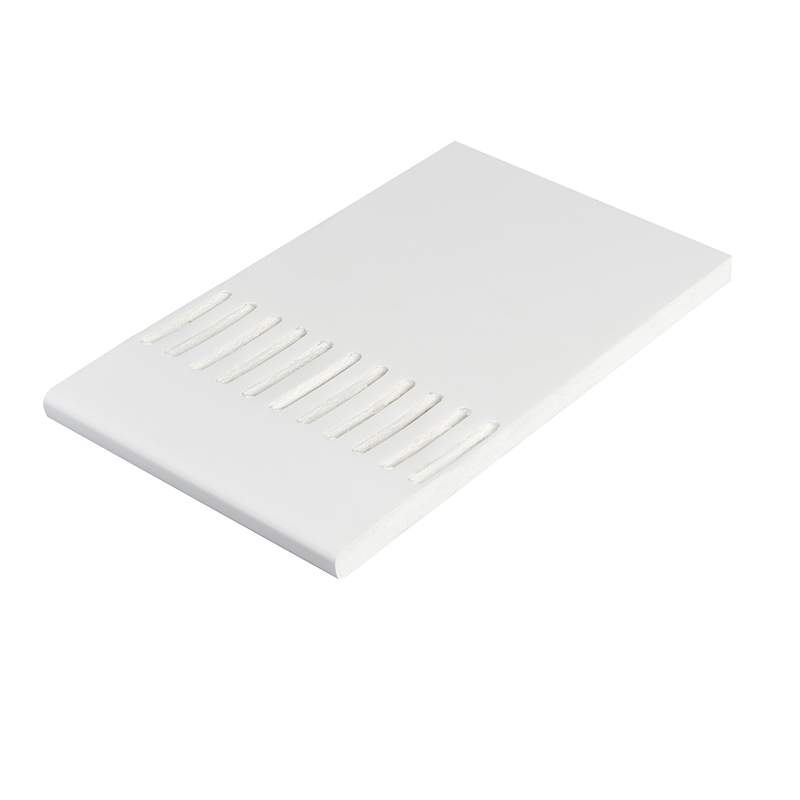
Ventilation Installation: If ventilation is required, install it directly on top of the fascia board, ensuring compliance with building regulations.
Install Rainwater System: Secure brackets directly into the fascia board using 25mm stainless steel screws. For guidance on specific gutter and downpipe fittings, refer to the dedicated section for Floplast gutters.
Final Checks
Inspect Work: After installation, double-check all fixtures, ensuring everything is secure and aligned properly.
Clean Up: Clear any debris and check for any leftover materials or tools.