For M-Boss textured cladding, the standard fitting instructions apply, but slight adjustments are necessary due to the varying sizes and colours within the M-Boss range. Additionally, breather membranes should be placed beneath the batten system when required.
Battens
Batten Installation:
Vertical Battens: Use 25mm x 38mm tanalised battens, installed vertically.
Spacing: Fix the battens to the substrate at a maximum of 300mm centers.
Top Batten: Secure a batten at the top of the installation.
Base of Installation: No batten is required at the base. This open space allows moisture to escape and provides ventilation for the cladding system.
Breather Membrane:
Trim Installation
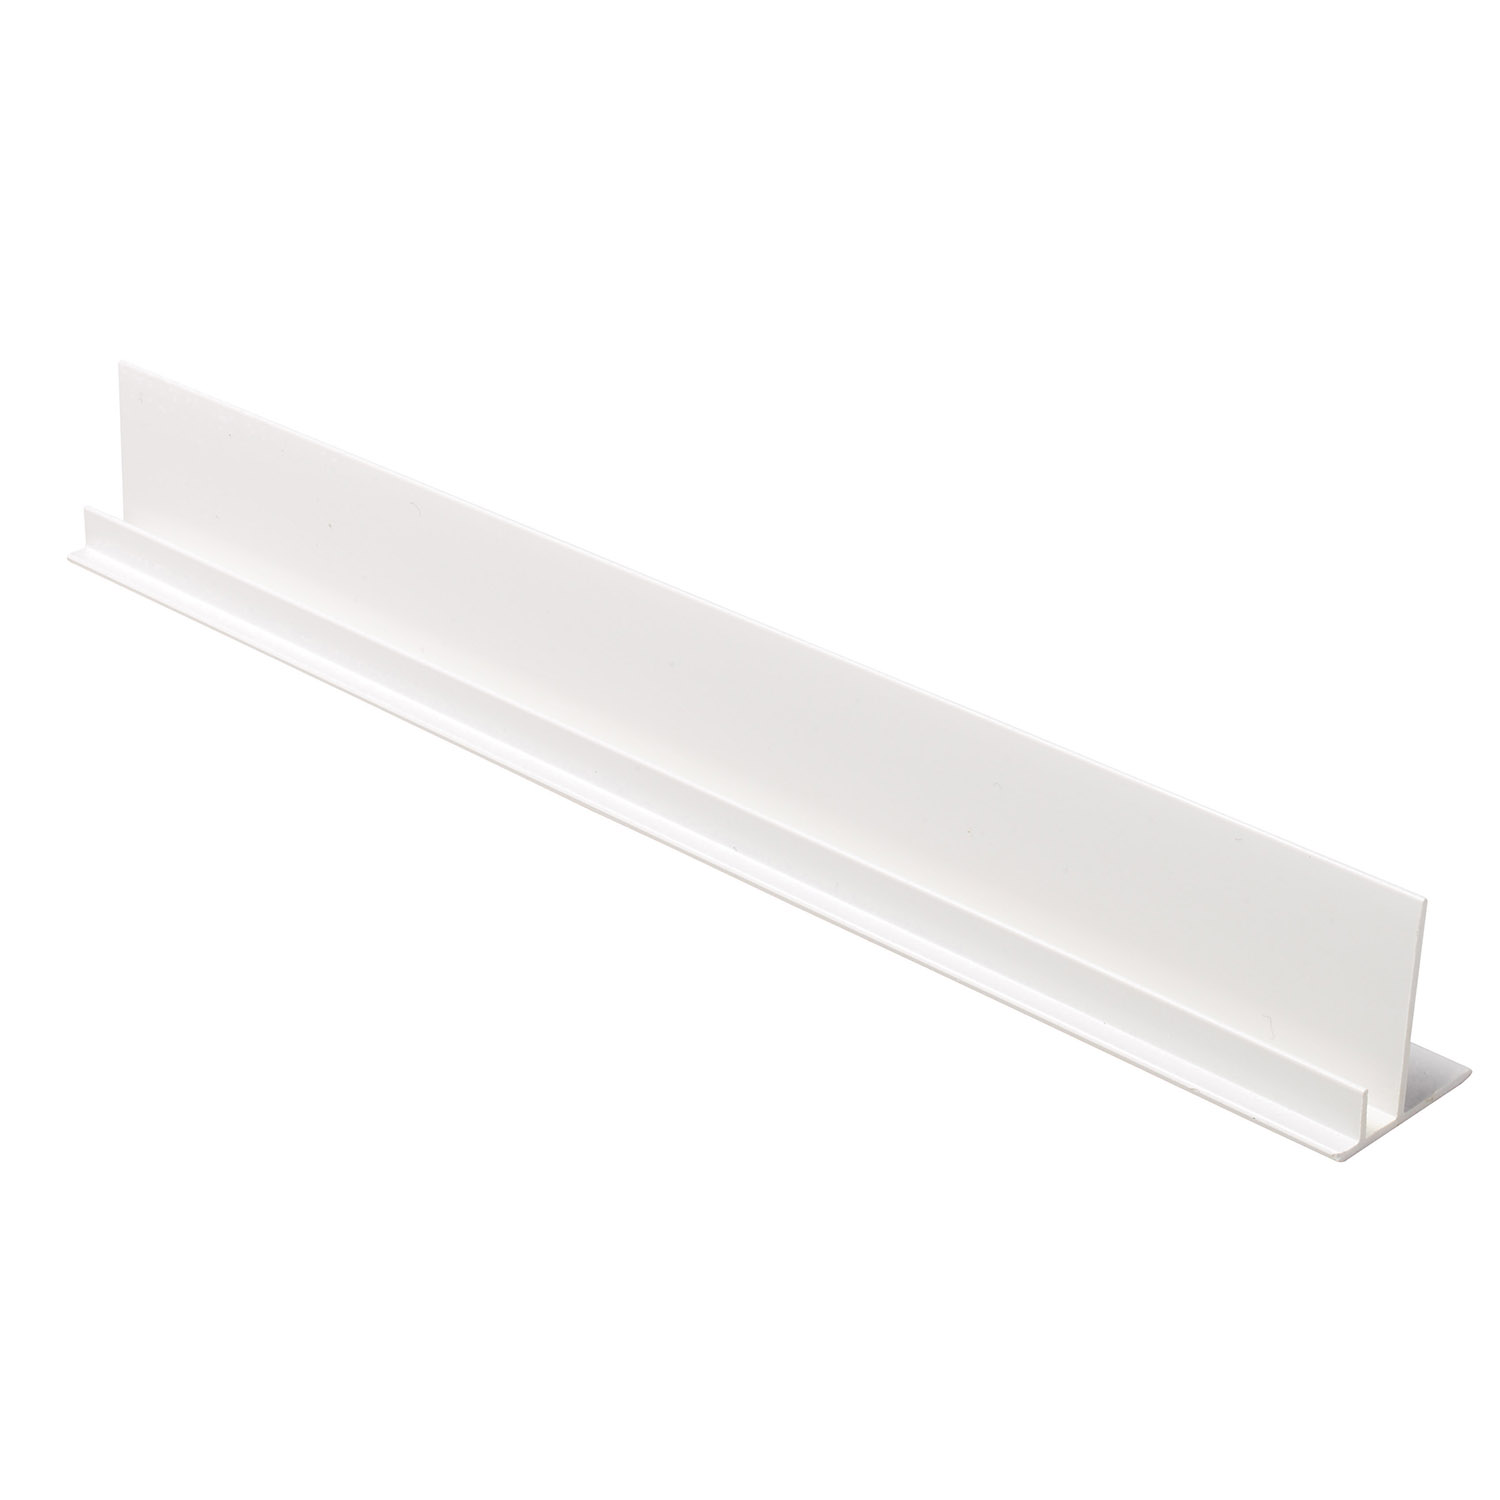
Starter Trim:
Vertical Trims:
Universal Trim or Corner Trim: Measure and cut to size, then notch out the rear of the trim.
Ensure the trim is straight and plumb.
Fix the trim to the battens using A4 20mm stainless steel fixings, spaced at 250mm-300mm intervals.
Leave an expansion gap of 5mm between board edges for White cladding or 8mm for RAL9001, RAL1015, RAL7035, and X002 cladding colours.
Two-part Vertical Trims: Use these for both horizontal and vertical cladding applications.
Top Edge Trim:
Measure, cut, and install the male extrusion of the top edge trim at the top of the installation, between the vertical trims.
Notch out the rear of the vertical trim to accommodate the male top edge extrusion.
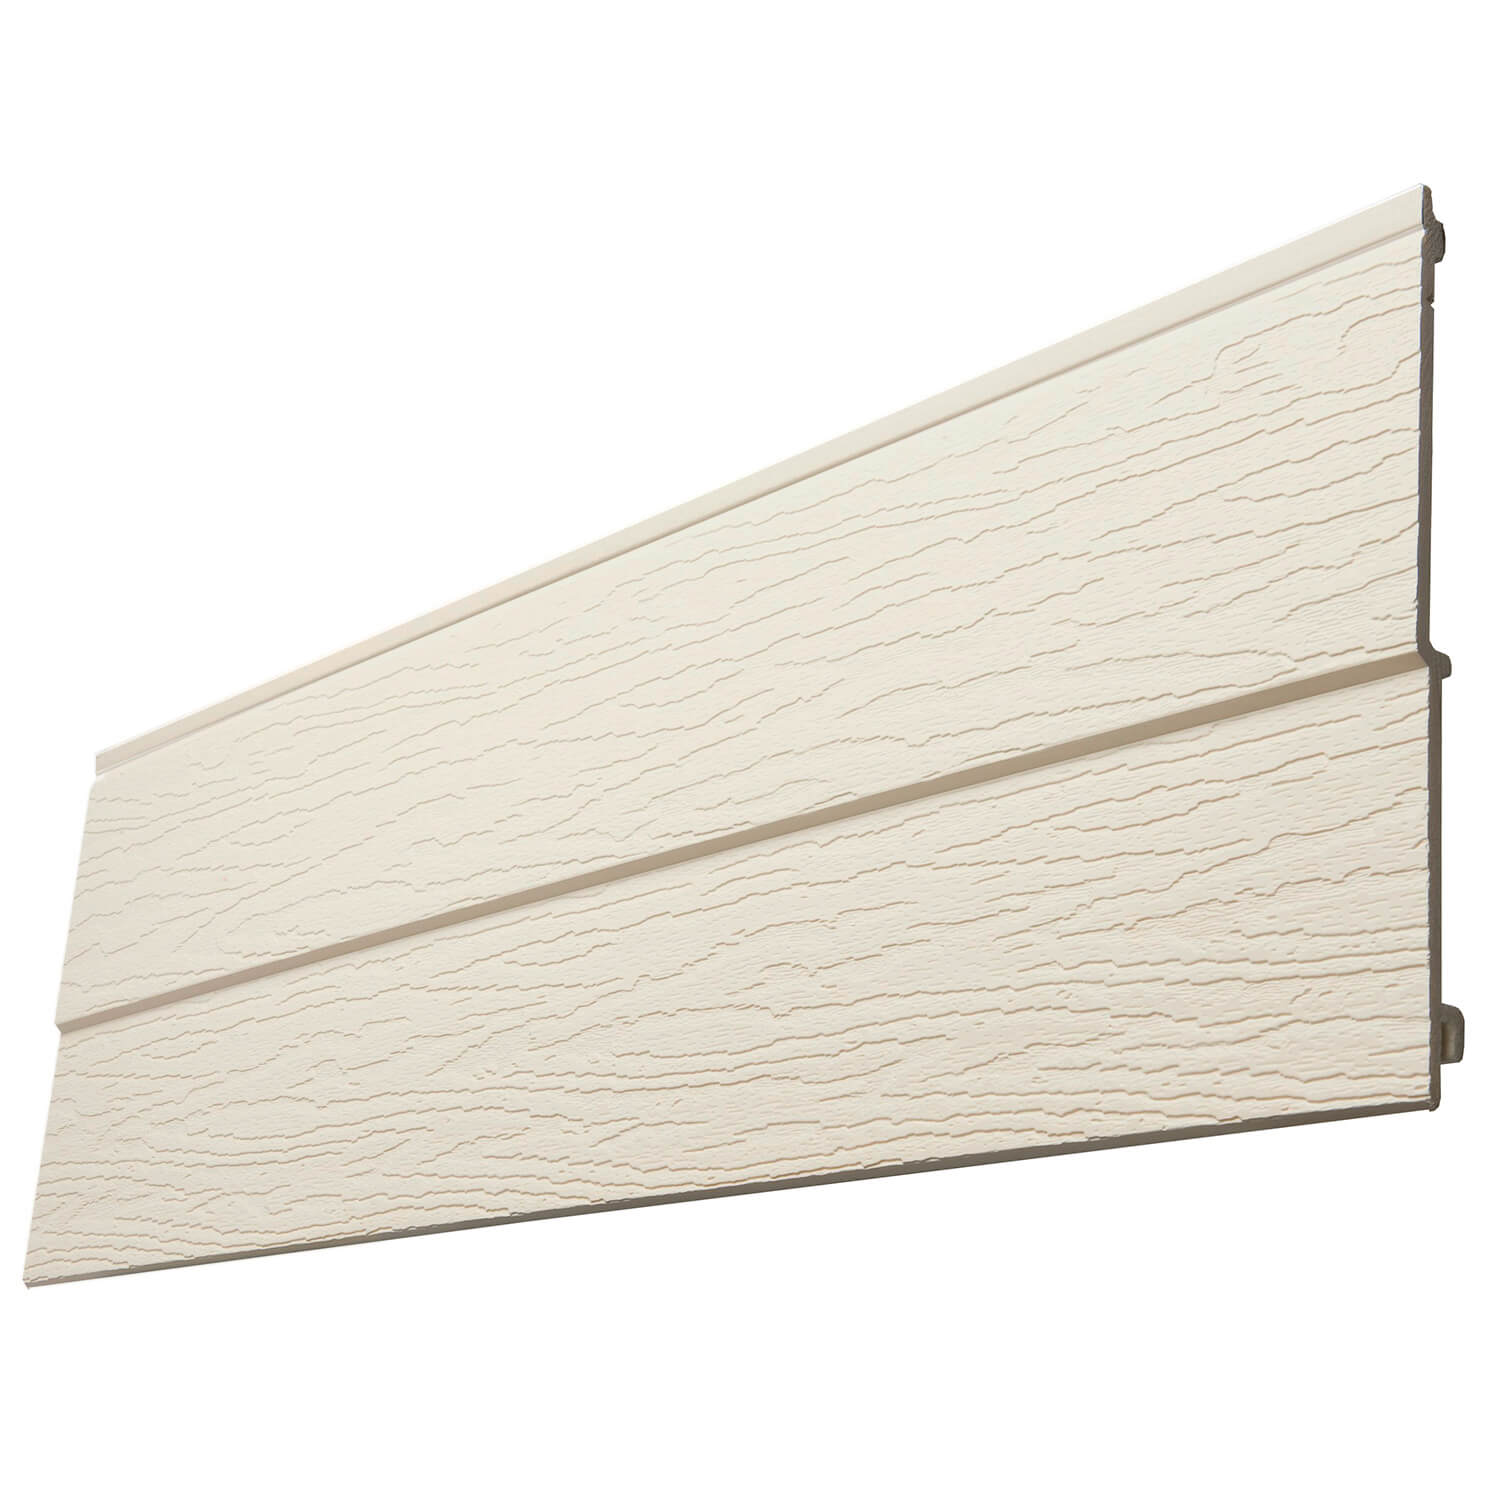
Cladding Plank Installation
First Cladding Plank:
Measure the first cladding plank, ensuring there is an appropriate expansion gap at each end.
Locate the groove section of the plank into the starter trim.
Use a spirit level to ensure the plank is straight and level.
Fix the plank to the battens at each center using either A4 30mm stainless steel nails or 8-gauge x 30mm stainless steel countersunk screws.
Ensure the fixings pass through the nail/screw guideline groove, as the boards are designed for concealed fixing.
Subsequent Cladding Planks:
Interlock the second plank with the first, ensuring the groove of the second plank completely covers the tongue of the first plank to hide the nails/screws.
Repeat this process for each subsequent plank, checking every three boards to ensure the installation remains level.
Final Plank:
Measure the width of the last plank and cut it to size.
Use the off-cut tongue of the board as packing material, gluing it with cyanoacrylate adhesive to the back of the last plank.
Nail the last plank into the top batten.
Install the top cladding plank, securing it through the plank into the top batten.
Finishing Touches:
By following this guide, you will achieve a clean, durable, and properly ventilated M-Boss textured cladding installation that enhances both the appearance and functionality of the building.

.png)