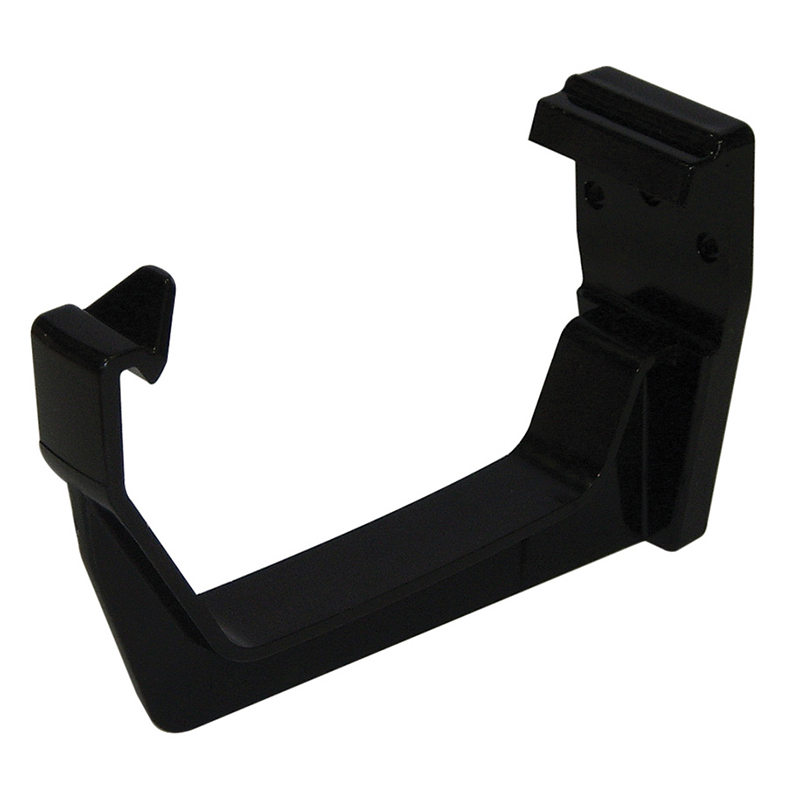
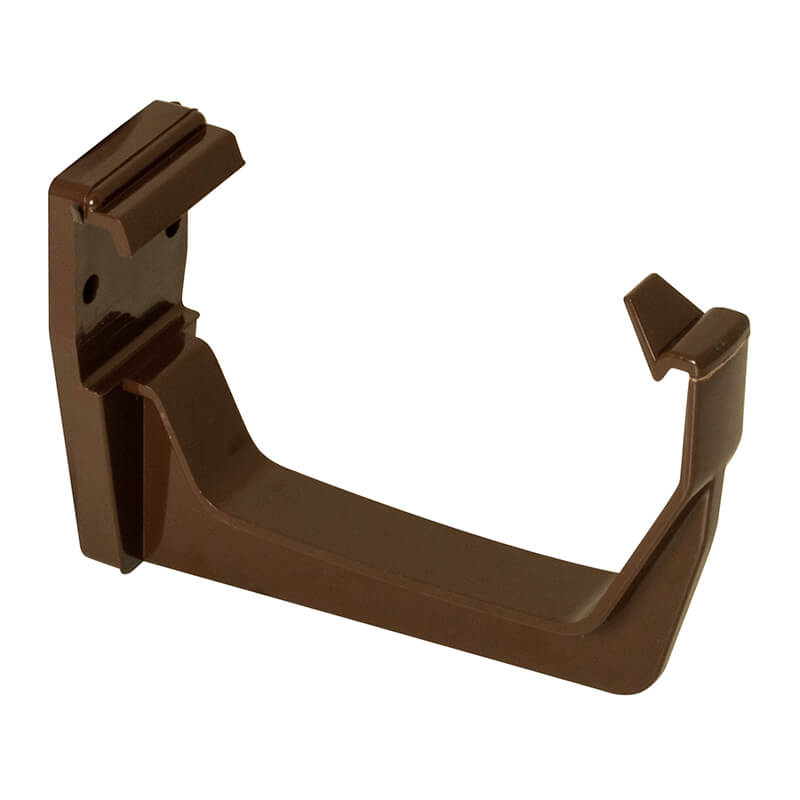
Prices Incl. VAT
Yes
No
Technical Installation Advice for PVC Gutter Brackets, Unions, Running Outlets & Downpipe Systems
Correctly installing PVC guttering and downpipes is essential for effective rainwater drainage and long-term performance. From positioning fascia brackets and setting the correct gutter fall to fitting unions, running outlets and downpipe clips, every component plays an important role in keeping your rainwater system secure and watertight.
This FloPlast guttering and downpipe installation guide provides practical technical advice on gutter bracket spacing, recommended fixing sizes, joint assembly, thermal expansion and downpipe installation.
Whether you're replacing existing guttering or installing a complete rainwater system, following the correct installation procedures can help prevent sagging gutters, leaking joints, poor drainage and premature component failure.
At Brissco, we supply a comprehensive range of FloPlast PVC rainwater systems, including Half Round, Square Line, Deepflow, Miniflo and Niagara Ogee guttering, together with compatible downpipes, brackets, unions and installation accessories.
Planning Your Guttering & Downpipe Installation
Before starting your installation, measure the roofline and calculate the number of gutter lengths, outlets, unions, brackets and downpipe fittings required.
Use the relevant FloPlast component diagrams and installation instructions to identify compatible products for your chosen guttering system.
Consider the roof area, rainfall capacity, outlet positions and suitable drainage points. Larger roof areas or locations exposed to heavy rainfall may require higher-capacity guttering or additional outlets.
If you're replacing an existing rainwater system, inspect the fascia boards and supporting surfaces before installing new components. Any damaged or deteriorated timber should be repaired or replaced to provide a secure fixing surface.
FloPlast Gutter Bracket Spacing Guide
Correct fascia bracket spacing is essential for supporting the guttering, maintaining the required fall and preventing movement or sagging.
The following measurements are taken from the installation guidance currently displayed on this Brissco page. Confirm them against the latest FloPlast technical instructions for the exact system before installation.
Recommended Maximum Bracket Spacing
Standard Straight Gutter Runs: Maximum 1 metre between fascia brackets.
FloPlast Niagara Guttering: Maximum 800mm between brackets.
FloPlast Xtraflo Guttering: Maximum 600mm between brackets.
80mm Round Downpipe with Hi-Cap and Niagara Systems: 800mm support spacing is stated in the existing guidance; confirm the applicable fitting and support arrangement.
Areas with Heavy Snowfall: Reduce gutter bracket spacing to a maximum of 400mm, subject to the manufacturer's snow-loading requirements.
Fascia brackets should also be positioned within 150mm of gutter angles and stop ends to provide additional support.
Always check whether your selected gutter profile requires additional brackets near outlets, unions or other fittings.
What Fall Should PVC Guttering Have?
Guttering should be installed with a suitable fall towards the running outlet to allow rainwater to drain effectively.
The existing FloPlast installation guidance on this page recommends a fall of approximately 1:350, equivalent to around 2.9mm per metre.
For example, a 3.5-metre gutter run installed at a 1:350 fall would have a height difference of approximately 10mm between the high point and the outlet.
A string line can help establish the required fall and maintain consistent bracket positioning along the roofline.
The appropriate fall may vary depending on the guttering system, installation arrangement and manufacturer's recommendations. Always use the current guidance for your chosen FloPlast profile.
How to Install FloPlast Guttering – Step-by-Step
Step 1: Remove Existing Guttering and Inspect the Fascia
If replacing an existing system, carefully remove the old gutter lengths, unions, outlets and fascia brackets.
Inspect the fascia boards for damage, deterioration or loose fixings.
Where replacement is necessary, suitable low-maintenance PVC-UE fascia boards, such as those available from Swish, can provide a durable roofline finish when installed with the correct structural support and fixing arrangement.
Ensure the supporting surface is suitable before fitting new gutter brackets.
Step 2: Position and Secure the Running Outlet
Identify the most suitable position for the running outlet, normally above the planned downpipe route and a suitable drainage point.
Position the outlet against the fascia board and secure it using the fixing arrangement specified for the selected FloPlast system.
Check that the outlet is level across its width, correctly aligned with the downpipe and positioned to receive rainwater from the gutter run.
Step 3: Mark the Gutter Fall and Fit Fascia Brackets
Starting from the running outlet, establish the required gutter fall towards the outlet.
The existing guidance specifies positioning a fascia bracket approximately 100mm from the furthest point of the outlet, then using a string line to establish the fall along the gutter run.
Secure fascia brackets at the appropriate spacing for your gutter profile, ensuring each bracket is correctly aligned and fixed to a suitable supporting surface.
Do not exceed the manufacturer's maximum bracket spacing.
Step 4: Use the Correct Gutter Fixings
The existing FloPlast fitting guidance on this page specifies the following fixing arrangements:
Fascia Brackets
Use two 25mm x 5mm screws or one 40mm x 5mm screw where permitted by the relevant bracket design and supporting material.
Cast Iron Effect fascia brackets require two suitable fixings.
Gutter Union Brackets
The existing guidance specifies a 25mm x 5mm screw for the union fixing.
Running Outlets and Gutter Angles
Use two 25mm x 5mm screws where specified for the relevant fittings.
Heavy Snowfall Areas
The existing guidance recommends two 25mm x 5mm screws for each fascia bracket, alongside reduced bracket spacing.
Rainwater Downpipe Clips
The existing guidance specifies two 40mm x 6mm screws for securing downpipe clips.
Round-head screws are generally preferred in the referenced instructions. If countersunk screws are used where permitted, avoid overtightening or damaging the plastic fittings.
Fixing requirements depend on the bracket design, substrate and manufacturer's current instructions. Always confirm the appropriate screw type, corrosion resistance, length and fixing method before installation.
Step 5: Lubricate the Gutter Seals
Before fitting gutter lengths into unions, outlets and angles, ensure the rubber seals are clean, correctly seated and undamaged.
The existing FloPlast guidance recommends using FloPlast silicone spray lubricant to assist installation and allow the gutter to move correctly as temperatures change.
Apply the recommended lubricant in accordance with the manufacturer's instructions.
Do not use adhesive or general-purpose silicone sealant as a substitute for the designed rubber-sealed joint.
Step 6: Fit the Gutter Lengths
Begin at the running outlet and carefully position the rear edge of the gutter beneath the retaining lip of the fitting.
Apply gentle downward pressure to engage the front edge of the gutter into the retaining clip.
Ensure the gutter is securely seated without damaging the plastic clips or rubber seals.
Check the manufacturer's expansion markings and position the gutter ends correctly to accommodate thermal movement.
Step 7: Connect Gutter Lengths with Union Brackets
Where two gutter lengths meet, install a compatible union bracket to create a secure, rubber-sealed connection.
Ensure both gutter ends are clean, square and correctly positioned within the fitting.
Follow the expansion markings and avoid forcing the gutter lengths together.
Where the roofline changes direction, use compatible internal or external gutter angles.
Complete the gutter run with the appropriate stop ends.
How to Install FloPlast Downpipes
Correct downpipe positioning and support are important for carrying rainwater safely from the gutter outlet to the drainage system.
Step 1: Connect the Downpipe to the Running Outlet
Start at the gutter outlet and identify the route the downpipe will follow down the wall.
Where the outlet does not align directly with the wall, use suitable offset bends or an adjustable offset fitting to create the required connection.
Step 2: Allow for Thermal Expansion
PVC downpipes expand and contract as temperatures change.
The existing FloPlast guidance specifies leaving a 6mm expansion gap at the top of the downpipe in the relevant connection arrangement.
Check the latest instructions for your particular pipe system and fittings before assembly.
Step 3: Fit Downpipe Clips
Secure the downpipe to the wall using compatible pipe clips and suitable fixings.
The existing installation guidance specifies supporting downpipes below offsets and using a maximum clip spacing of 1.8 metres.
Additional support may be required around bends, branches, shoes and other fittings.
Ensure the downpipe is correctly aligned and securely supported without restricting necessary thermal movement.
Step 4: Connect to the Drainage System
At the base of the downpipe, fit a compatible downpipe shoe where rainwater is discharged into an appropriate gully or collection point.
Alternatively, connect the downpipe to a suitable underground drainage system using the correct adaptor or reducer.
The existing guide references FloPlast 110mm x 68mm drainage reducers for certain connections. Check the correct adaptor for your chosen downpipe diameter and drainage arrangement.
Rainwater must discharge to a suitable approved drainage point, rather than directly against the building foundations.
Common Guttering Installation Mistakes to Avoid
Even a well-designed rainwater system can develop problems if components are incorrectly installed.
Common Installation Problems
Incorrect Bracket Spacing: Insufficient support can cause guttering to sag or become misaligned.
Poor Gutter Fall: Incorrect positioning can lead to standing water and overflowing gutters.
Overtightened Fixings: Excessive pressure can damage plastic brackets, outlets and other fittings.
Insufficient Expansion Allowance: PVC guttering needs room to expand and contract with temperature changes.
Incompatible Components: Mixing different gutter profiles or unsuitable fittings can cause leaks and connection problems.
Always follow the manufacturer's installation guidance and check the completed system before use.
Checking Your Completed Rainwater System
Once installation is complete, inspect the guttering and downpipes to ensure all components are securely fitted.
Check that the guttering follows the intended fall, the unions and outlets are correctly seated and the downpipes are properly supported.
Where safe and practical, test the guttering with water to confirm that rainwater flows towards the outlets without leaking, excessive standing water or overflowing joints.
Inspect the system periodically, particularly after severe weather or heavy leaf fall, and remove any debris that could restrict drainage.
Frequently Asked Questions About FloPlast Guttering Installation
How far apart should FloPlast gutter brackets be?
The maximum spacing depends on the guttering profile. The existing FloPlast guidance specifies up to 1 metre for standard straight gutter runs, 800mm for Niagara and 600mm for Xtraflo. Additional support may be required near fittings and in areas exposed to heavy snowfall.
What fall should FloPlast guttering have?
The installation guidance currently shown on this page recommends a fall of 1:350, equivalent to approximately 2.9mm per metre. Always confirm the required fall against the latest FloPlast instructions for your particular guttering system.
How close should gutter brackets be to angles and stop ends?
The existing installation guidance recommends positioning fascia brackets within 150mm of gutter angles and stop ends to provide additional support.
What screws should I use for FloPlast gutter brackets?
The existing guide specifies two 25mm x 5mm screws or one 40mm x 5mm screw for certain fascia brackets. The correct fixing arrangement depends on the bracket design and supporting surface, so always follow the manufacturer's current instructions.
Do FloPlast gutter joints need silicone sealant?
Standard FloPlast rubber-sealed gutter joints should not normally require silicone sealant. The rubber seals are designed to provide a watertight connection while allowing thermal movement. Use the recommended silicone spray lubricant where specified.
How far apart should downpipe clips be?
The existing guide specifies a maximum spacing of 1.8 metres for downpipe support, with additional clips where required around offsets, bends and other fittings. Confirm the requirements for your selected downpipe system.
Do PVC downpipes need an expansion gap?
Yes, where specified by the manufacturer. The existing FloPlast guidance references a 6mm expansion allowance at the top of the downpipe in the relevant connection arrangement.
Can FloPlast guttering be installed on existing fascia boards?
Yes, provided the fascia boards and supporting structure are sound, suitable for the fixing method and capable of securely supporting the guttering. Damaged or deteriorated fascia boards should be repaired or replaced before installation.
Can I install PVC guttering myself?
PVC guttering can be installed by competent DIY users with suitable tools and knowledge. However, working at roof level presents significant risks. Use appropriate access equipment and safety precautions, or employ a qualified professional where necessary.
How do I choose the correct FloPlast guttering system?
Consider the roof area, rainfall requirements, building style and available drainage outlets. FloPlast offers several profiles, including Half Round, Square Line, Deepflow, Miniflo and Niagara Ogee. Refer to the manufacturer's rainwater capacity guidance before selecting a system.
Shop FloPlast Guttering & Downpipe Products at Brissco
At Brissco, we supply a comprehensive selection of FloPlast PVC guttering, downpipes and rainwater fittings for domestic and commercial installations.
Our range includes Half Round, Square Line, Deepflow, Miniflo and Niagara Ogee guttering, together with compatible fascia brackets, unions, running outlets, stop ends, angles, downpipe clips and drainage accessories.
Whether you're installing a complete rainwater system or replacing existing components, choosing the correct fittings and following the manufacturer's installation instructions will help achieve a reliable, long-lasting result.
Browse our Guttering & Downpipe range online or contact the Brissco team for advice on suitable FloPlast products and installation accessories.
Important: This guide provides general installation information based on the existing Brissco page. Always consult the latest FloPlast technical instructions, relevant building regulations and appropriate working-at-height safety guidance before installation.
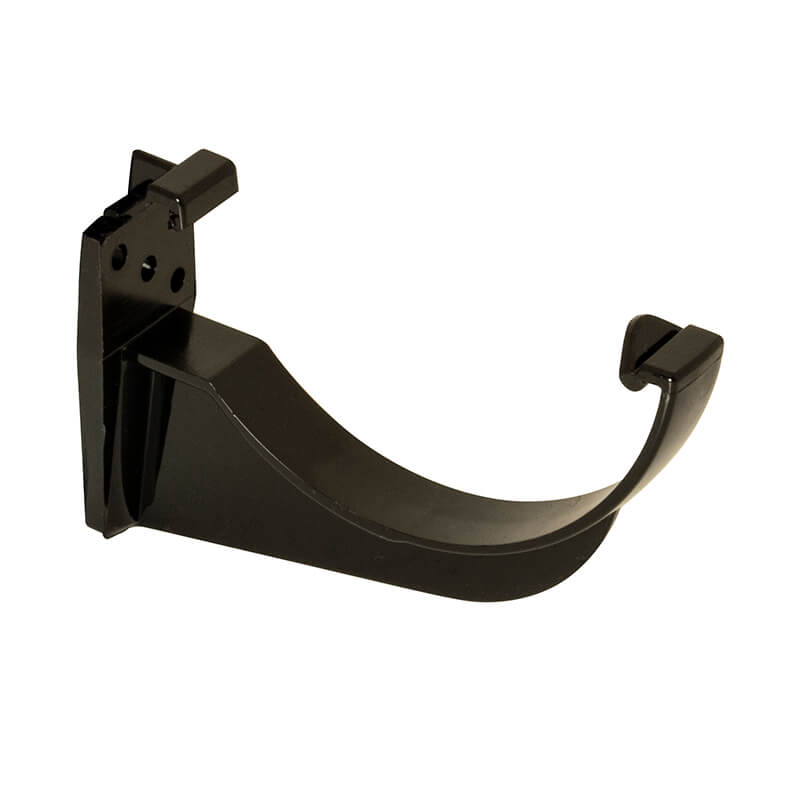
112mm FloPlast Black Half Round Fascia Bracket
Lead Time - In Stock
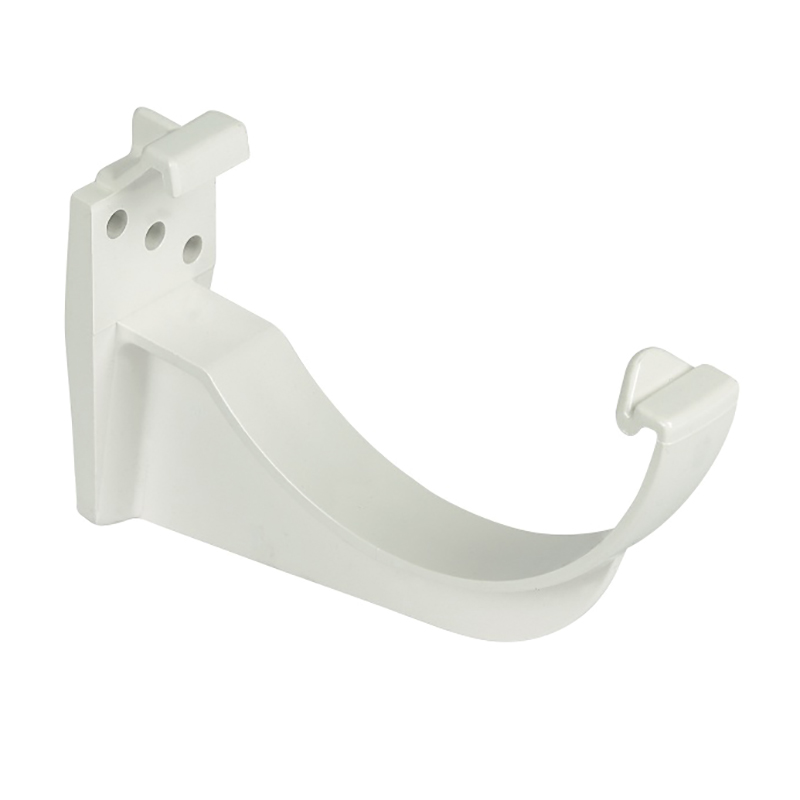
112mm FloPlast White Half Round Fascia Bracket
Lead Time - In Stock
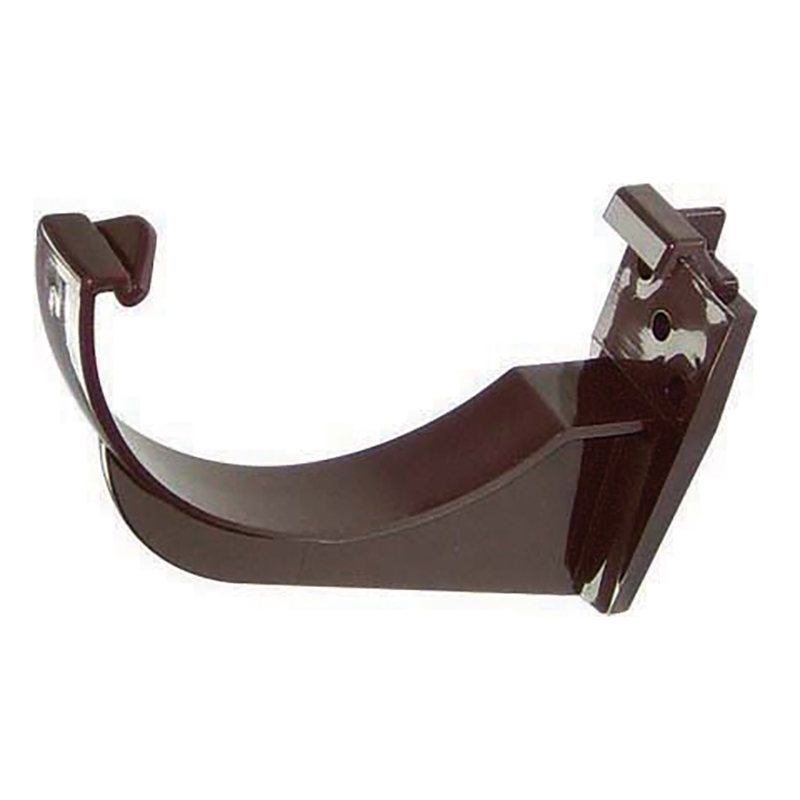
112mm FloPlast Brown Half Round Fascia Bracket
Lead Time - In Stock
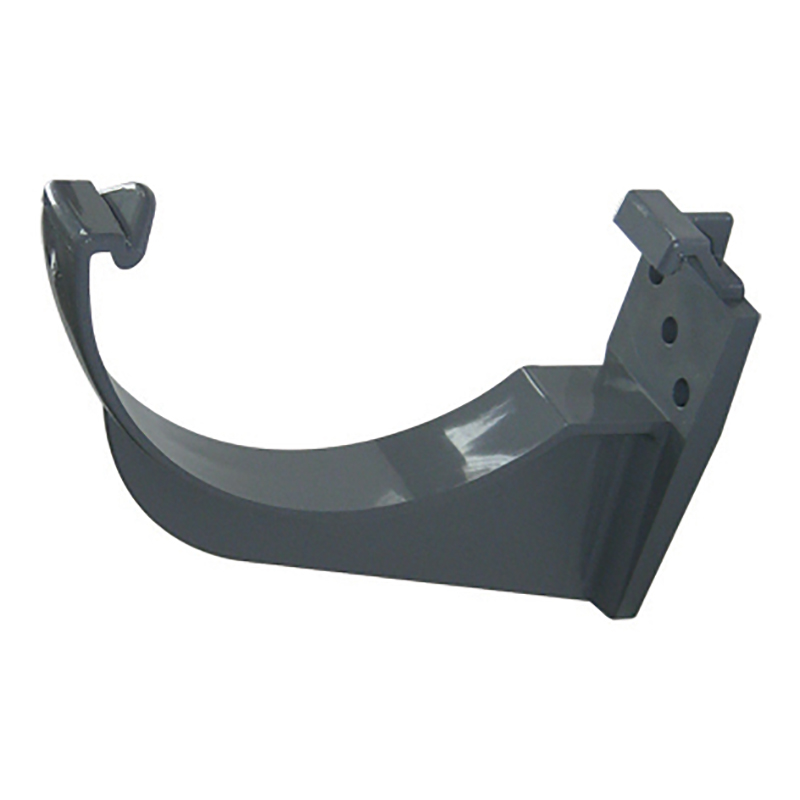
112mm FloPlast Grey Half Round Fascia Bracket
Lead Time - In Stock
Need to see it before you buy? We offer samples of our uPVC building products to help you choose the perfect fit. Simply get in touch through our contact page, and we’ll be happy to assist!

We use cookies on this site to enhance your user experience. For a complete overview of all cookies used, please see our Privacy Policy