Prices Incl. VAT
Yes
No
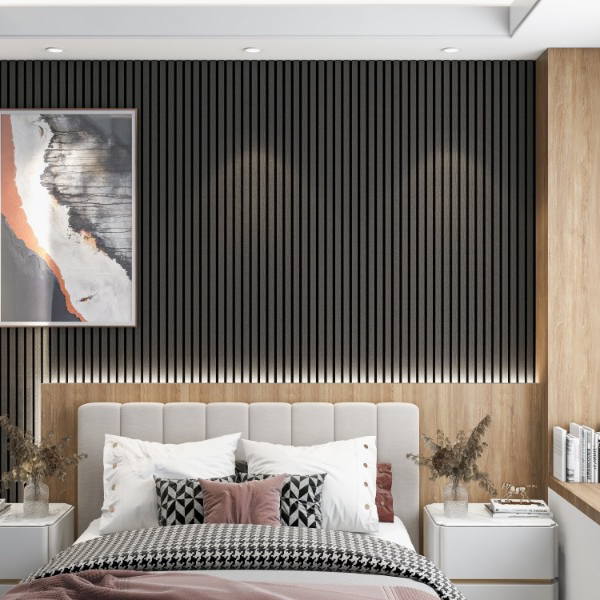
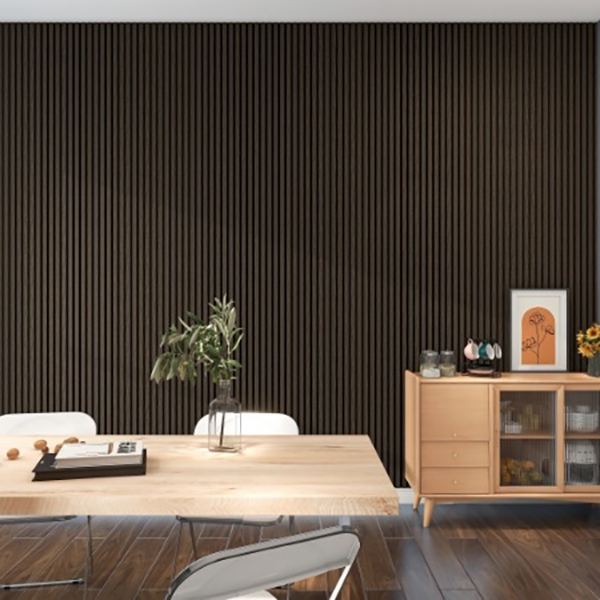
600mm Ebony Acoustic Slat Wall Panel 2.4m Pack of 2
Lead Time - In Stock
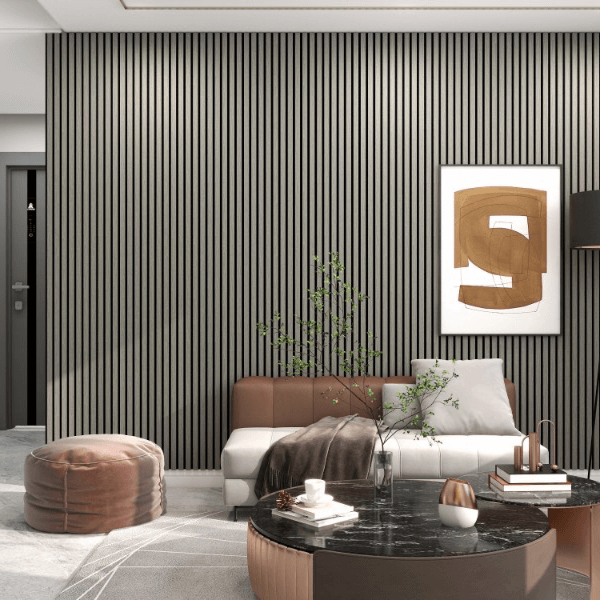
600mm Light Grey Acoustic Slat Wall Panel 2.4m Pack of 2
Lead Time - In Stock
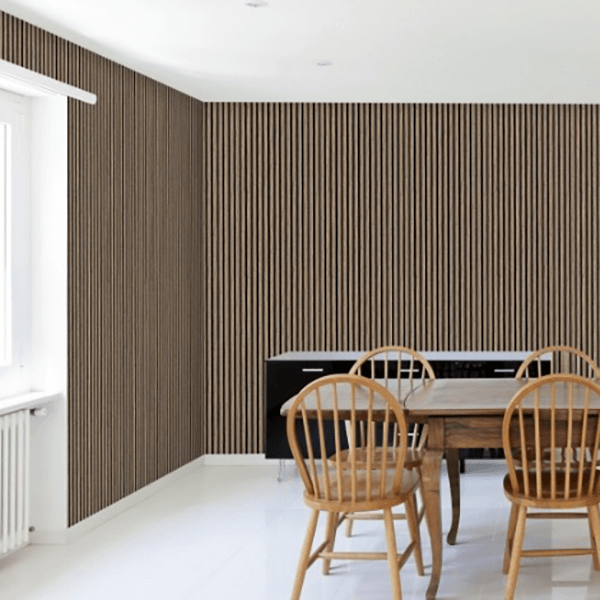
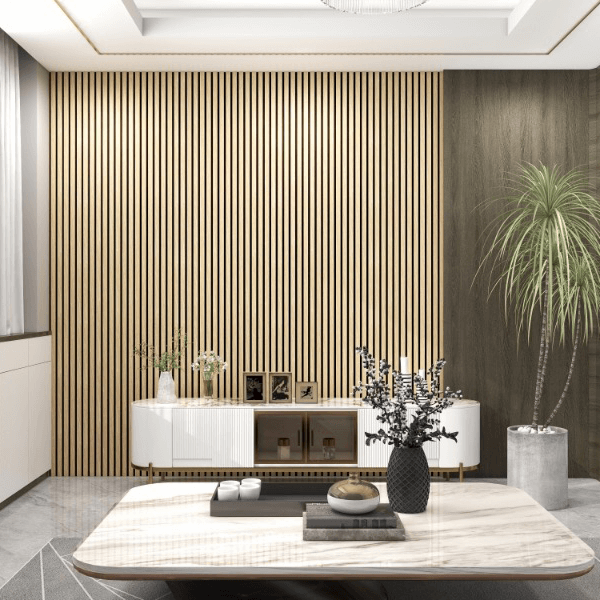
600mm Maple Acoustic Slat Wall Panel 2.4m Pack of 2
Lead Time - In Stock
Need to see it before you buy? We offer samples of our uPVC building products to help you choose the perfect fit. Simply get in touch through our contact page, and we’ll be happy to assist!

We use cookies on this site to enhance your user experience. For a complete overview of all cookies used, please see our Privacy Policy